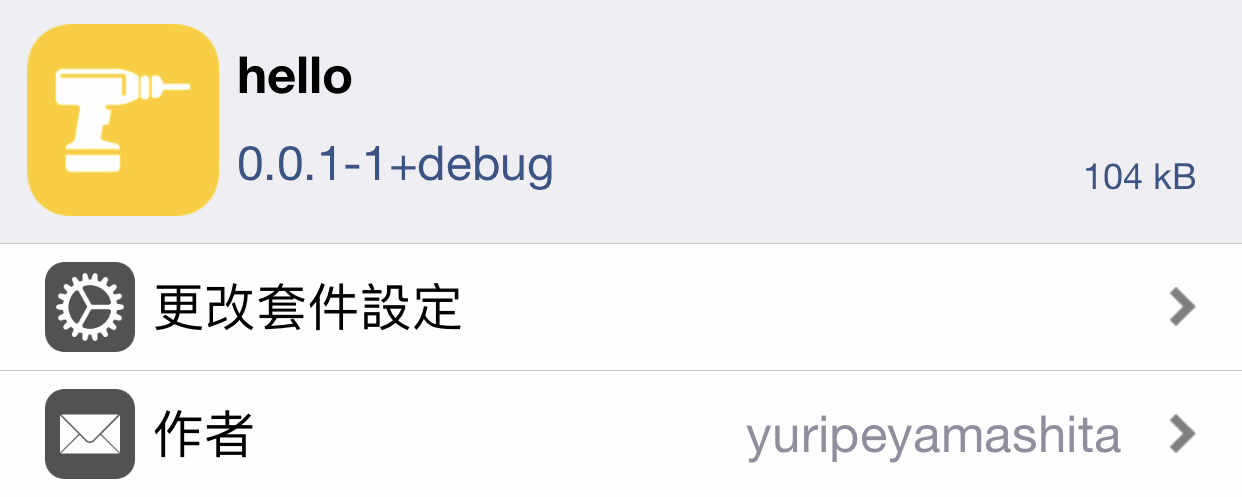
透過 SSH 安裝越獄套件

前言
上一篇 編寫首個 Tweak 越獄套件 中,已完成越獄套件的撰寫與編譯。
接下來,將打包擴充套件並透過 SSH 安裝至 iOS 設備中。
關於 SSH
SSH(Secure Shell,安全外殼協定)是一種加密的網路傳輸協定。
其通過在網路中建立安全隧道來實現用戶端與伺服器之間的連接,最常見的用途是遠端登入系統,來傳輸命令列介面和遠端執行命令。
實作過程
安裝 libmobiledevice
於終端機下指令,利用 Homebrew 安裝 libmobiledevice:
brew install libmobiledevice
埠號映射
於終端機下指令,將 iOS 設備分配給 SSH 服務的 22 埠映射到電腦的 2222 埠:
iproxy 2222 22
於 iOS 設備上開啟 Cydia 搜尋並安裝 OpenSSH 並以 USB 與電腦連線,連線過程中勿關閉此終端機視窗。
修改預設密碼
-
新增另一個終端機視窗,下指令,登入 iOS 設備:
ssh root@localhost -p 2222
The authenticity of host '[localhost]:2222 ([127.0.0.1]:2222)' can't be established.
RSA key fingerprint is SHA256:k0WbElyFZeiLlHXYSmEY1BiPwcxJrspeu4vZJpLV6bs.
Are you sure you want to continue connecting (yes/no)? yes
Warning: Permanently added '[localhost]:2222' (RSA) to the list of known hosts.
root@localhost's password:(預設密碼為 alpine)
iPhone:~ root#
若出現錯誤,刪除
$HOME/.ssh/known_hosts文件後再試一次。 -
繼續於終端機下指令,修改 iOS 設備的 root、mobile 用戶預設密碼:
iPhone:~ root# passwd Changing password for root. New password:(輸入新密碼) Retype new password:(重複輸入新密碼) iPhone:~ root# passwd mobile Changing password for mobile. New password:(輸入新密碼) Retype new password:(重複輸入新密碼) iPhone:~ root# -
修改完成,使用
exit指令退出 SSH 連線。
上傳公鑰
-
於終端機下指令,產生公私鑰於
$HOME/.ssh/目錄中:ssh-keygen -t rsa -P '' -
於終端機下指令,將公鑰拷貝到 iOS 設備中:
ssh-copy-id -i $HOME/.ssh/id_rsa.pub root@localhost -p 2222
打包安裝
cd到專案目錄,於終端機下指令:
make package install
等價於:
make do
成功打包並透過 SSH 安裝至 iOS 設備:
> Making all for tweak hello…
make[2]: Nothing to be done for 'internal-library-compile'.
> Making stage for tweak hello…
dm.pl: building package 'tw.yuripe-dev.hello:iphoneos-arm' in
'./packages/tw.yuripe-dev.hello_0.0.1-1+debug_iphoneos-arm.deb'
==> Installing…
(Reading database ... 3434 files and directories currently installed.)
Preparing to unpack /tmp/_theos_install.deb ...
Unpacking tw.yuripe-dev.hello (0.0.1-1+debug) over (0.0.1-1+debug) ...
Setting up tw.yuripe-dev.hello (0.0.1-1+debug) ...
install.exec "killall -9 SpringBoard"
iOS 設備將在 Respring 後彈出一個警告窗框,擴充套件安裝成功。
日後,分別使用下列兩行指令即可完成擴充套件編譯打包安裝工作:
iproxy 2222 22
make clean do
貼文底端